Updated Monday, June 22, 2026
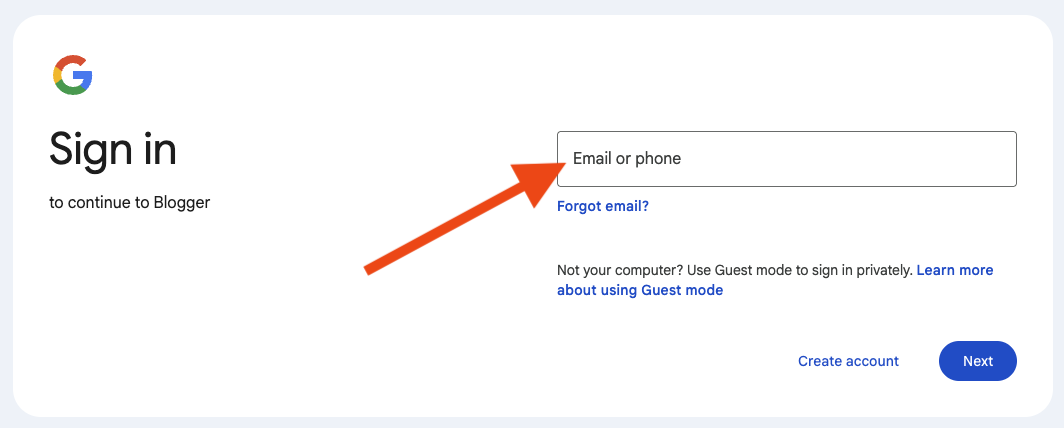
Follow these steps to add a fully integrated blog to your website.
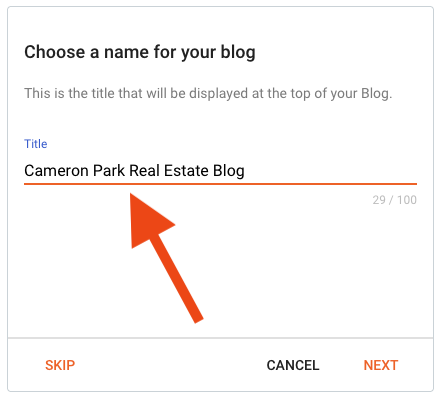
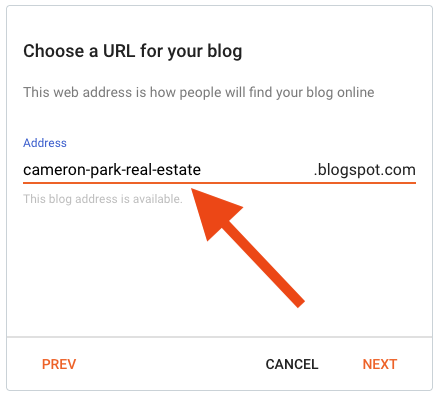
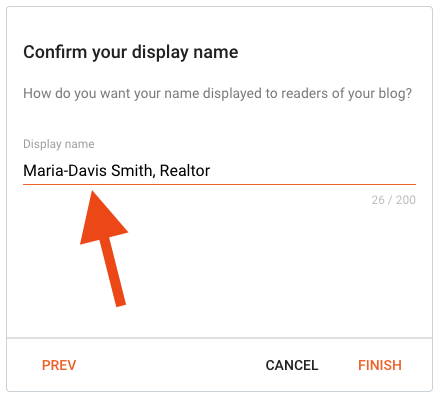
You will create and manage your blog at Blogger.com, and blog posts will automatically be displayed within your website.
 to let us know you added your blog.
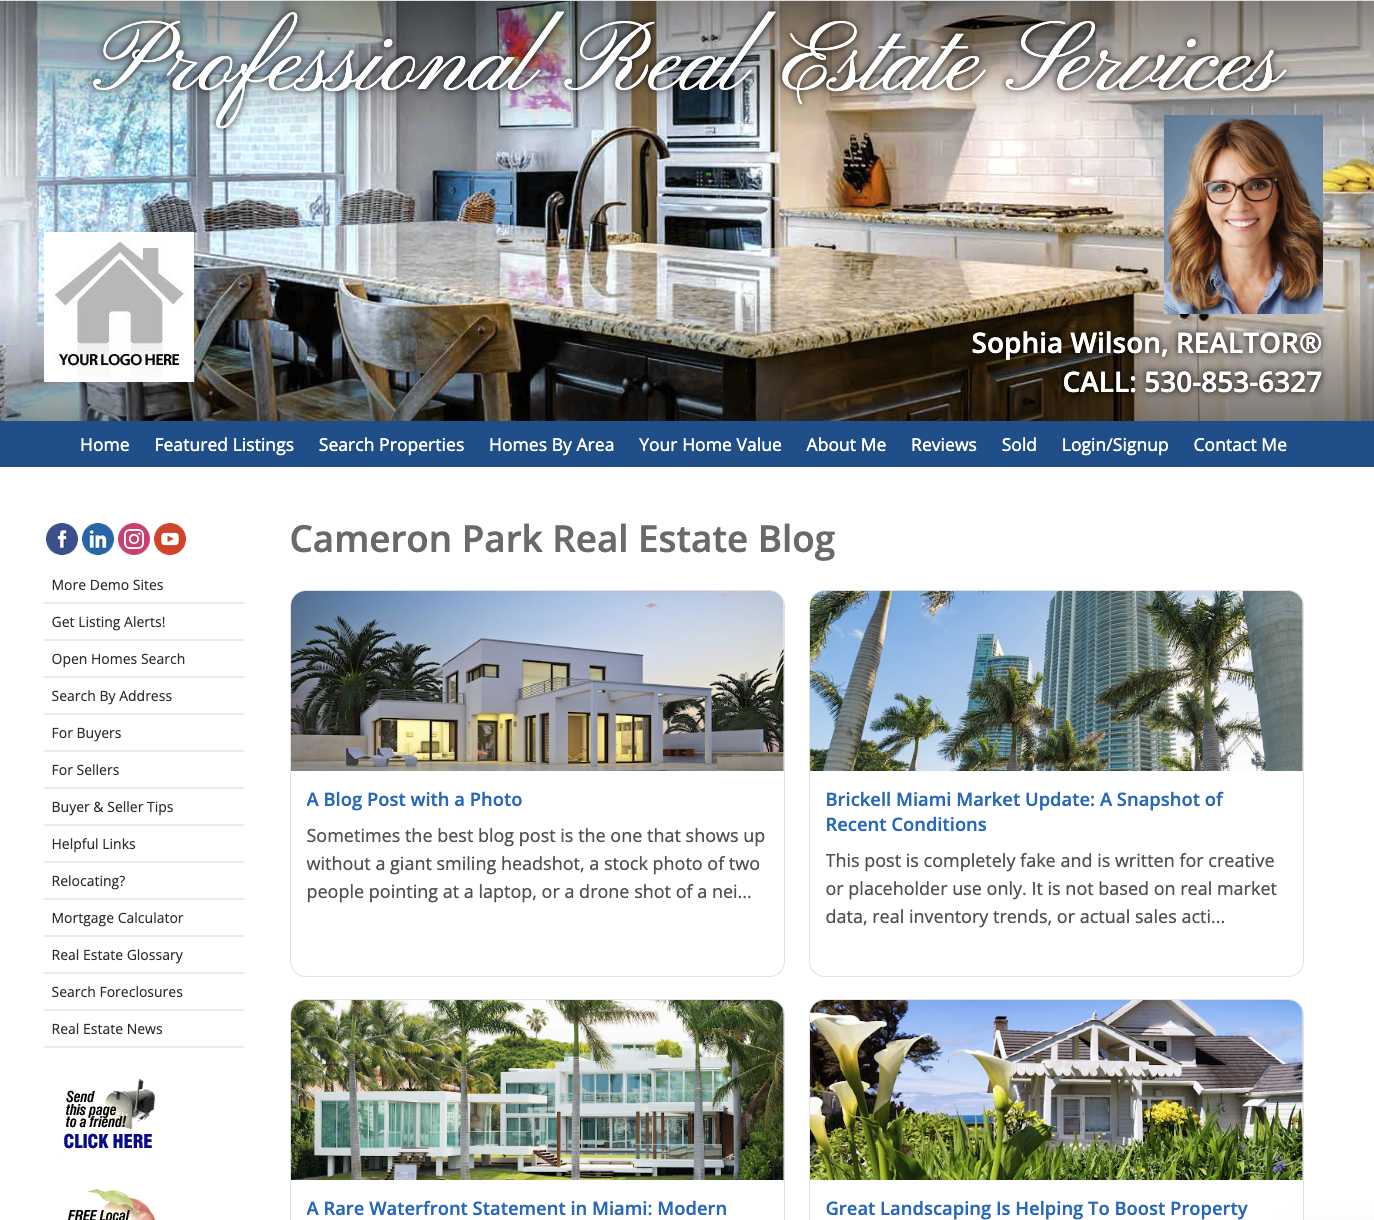
Once your blog is live on your website, any new posts that you create on Blogger.com will automatically appear on your website.
Make sure to reload the blog page on your website to see the changes.
20+ YEARS OF QUALITY SERVICE WITH A SMILE
@ 2026 AgentWebsite Terms of Use | Privacy | Proud member of East TN REALTORS®